
Most people who buy a data eSIM don’t want to replace their phone number. They want to keep the number their family, bank and coworkers already know, and add a second line that does the heavy lifting on mobile data: maps, hotspot, social media, video calls and photo backups. Modern phones are built for exactly this. With dual SIM, one phone can hold two lines at once and give each one a different job.
The catch is that your phone has to be told which line does what. If the settings are left on their defaults, you may find your main carrier’s data being used instead of your eSIM, texts arriving on the wrong line, or roaming charges appearing on your regular bill. This guide explains how dual SIM actually works, which settings matter, and how to set everything up on iPhone and Android so that both lines behave the way you expect. If you’re new to eSIMs, start with our plain-English guide to what an eSIM is and how it works.
1. What “Dual SIM” Means on a Modern Phone
A dual SIM phone can keep two cellular lines active at the same time. On most current phones, those two lines can come from:
- A physical SIM plus an eSIM. This is the most common setup: your existing carrier stays on the plastic SIM card, and your data plan is added as an eSIM.
- Two eSIMs. Phones without a SIM tray, such as U.S. models of iPhone 14 and later, run both lines as eSIMs.
A phone can usually store more eSIM profiles than it can use at once. An iPhone, for example, can hold eight or more eSIMs but keeps only two active at the same time. Profiles you aren’t using can simply be switched off and turned back on later, without reinstalling.
Dual Standby vs. Dual Active
Most phones are Dual SIM Dual Standby (DSDS). Both lines are registered on the network and can receive calls and texts, but the phone has one shared radio for active use. In practice, this means:
- While you’re on a call on one line, the other line usually can’t take a call at the same time. Depending on your carrier, that call may go to voicemail.
- While you’re on a call on your main line, mobile data on the eSIM may pause, unless your phone is allowed to switch data to the line that is in the call (more on this setting below).
A few phones support Dual SIM Dual Active (DSDA), which keeps both lines fully active at once. If your phone is DSDS, which is the usual case, none of this is a problem for everyday use. It’s just useful to know why data can briefly drop during a phone call.
2. Give Each Line a Clear Job
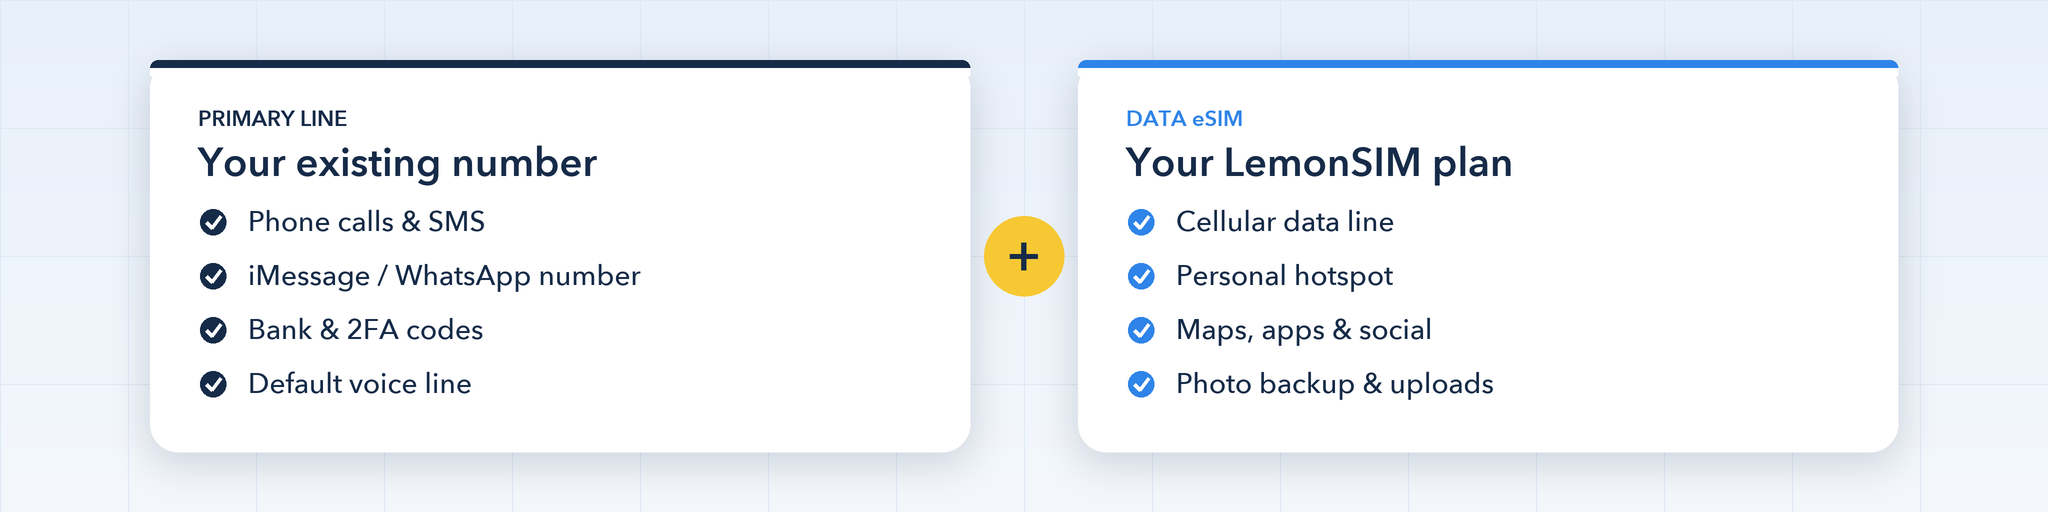
The simplest dual SIM setup is a clean split of responsibilities:
- Primary line (your existing number): phone calls, SMS, your iMessage, FaceTime or WhatsApp identity, and the verification codes your bank and apps send by text. This is your default voice line.
- Data eSIM (for example, a LemonSIM plan): all mobile data. That covers browsing, maps, streaming, social apps, cloud backups and personal hotspot. This is your cellular data line.
With this split, people can still reach you on the number they know, and your data usage is paid for by the plan you bought for it, not by your main carrier.
3. The Five Settings That Make Dual SIM Work
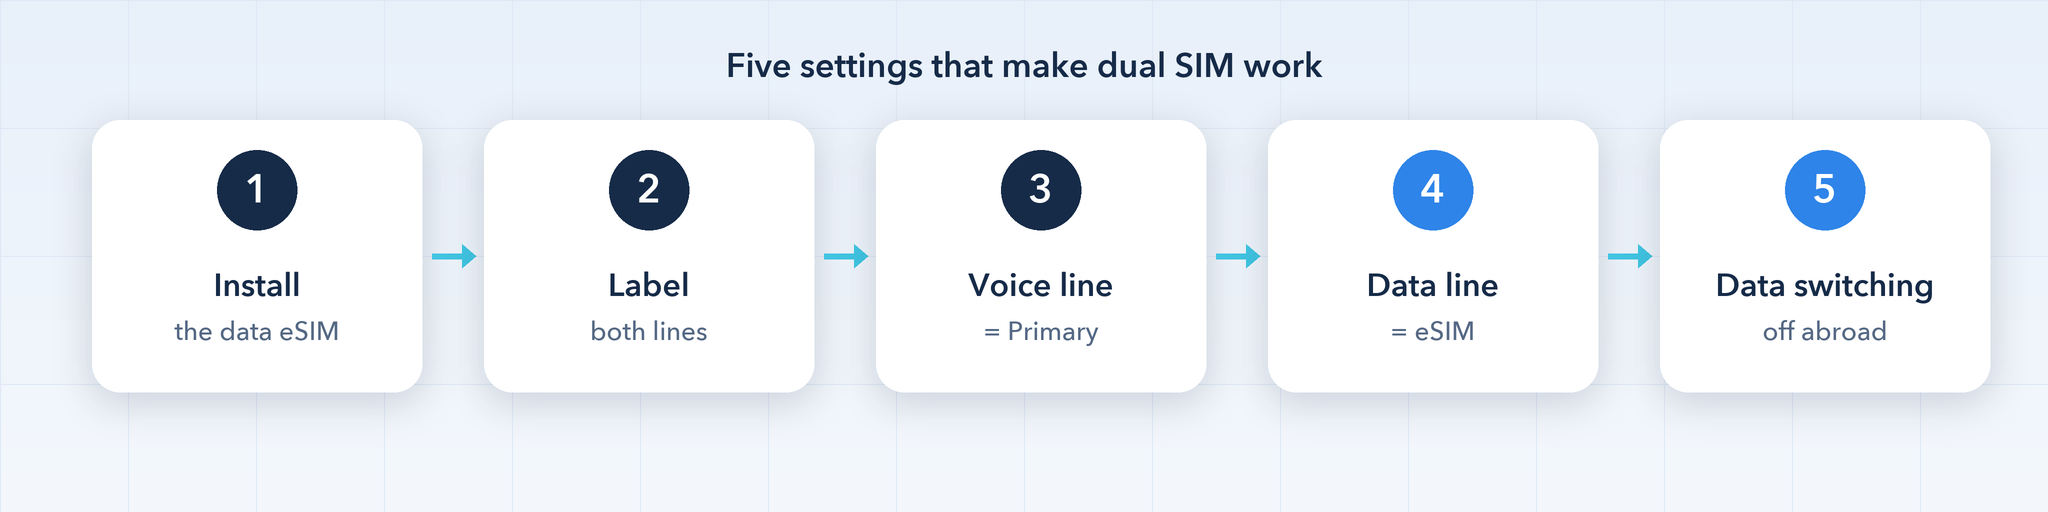
Whatever phone you use, the same five decisions come up:
- Install the data eSIM. Scan the QR code or use the activation details you received, while connected to stable Wi-Fi. Leave your existing SIM in place.
- Label both lines. Give them names you’ll recognize, such as “Main” and “Data”. Labels show up in your settings, call log and messages, so you always know which line is doing what.
- Set the default voice line to your primary number. This keeps calls and texts going out from the number people know.
- Set the cellular data line to the eSIM. This is the most important step. Without it, your phone keeps using your main carrier’s data.
- Decide on data switching. Phones can automatically use the other line’s data when the selected data line is weak or busy. That’s convenient at home, but abroad it can quietly put roaming data on your main carrier’s bill. If you’re traveling, turn it off.
4. Step-by-Step on iPhone
Menu names can vary slightly by iOS version and region (Cellular or Mobile Data), but the layout is the same:
- After you install the eSIM, iOS asks you to label your plans. Pick clear names such as “Main” and “Data”. You can change them later under Settings > Cellular, by tapping a line and choosing Cellular Plan Label.
- When asked for a Default Line, choose your main number. This line is used for calls and SMS to people who aren’t in your contacts.
- When asked which line to use for Cellular Data, choose the eSIM.
- Go to Settings > Cellular > Cellular Data and check whether Allow Cellular Data Switching is on. If you want all data to stay on the eSIM, or you’re abroad, turn it off.
- Go to Settings > Messages > Send & Receive and Settings > FaceTime to confirm that iMessage and FaceTime use your main number.
- Under Settings > Cellular, tap each line to check its Data Roaming setting. If you’re traveling outside your main carrier’s home country, keep Data Roaming off on your main line. On the data eSIM, follow the instructions that came with your plan.
You can also set a preferred line for individual contacts. Open a contact, tap the line label under their name, and pick which number to use for calls and messages with that person.
5. Step-by-Step on Android
Android menus differ by manufacturer. These are the usual locations:
- Google Pixel: Settings > Network & internet > SIMs
- Samsung Galaxy: Settings > Connections > SIM manager
- Other brands: look for “SIM cards”, “Dual SIM” or “SIM manager” under network or connection settings
Once you’re in the SIM menu:
- Make sure both SIMs are turned on, and rename them to “Main” and “Data”.
- Set the preferred SIM for calls and for SMS to your main line. If you’d rather choose every time, many phones offer an “Ask every time” option.
- Set the preferred SIM for mobile data to the eSIM.
- Look for an automatic data switching option. It may be called Auto data switch, Switch mobile data automatically, or Data switching. Turn it off if you want every byte of data to stay on the eSIM.
- Open each SIM’s own settings to check Roaming, and keep it off on your main line when you’re abroad.
6. Messaging Apps, Verification Codes and Hotspot
A few common questions come up once both lines are running:
- WhatsApp, Telegram and Signal are tied to the phone number you registered, not to the line that carries the data. If you registered with your main number, the app keeps working with that number while all its data goes over your eSIM.
- SMS verification codes from banks and services still arrive on your main number, as long as that line is switched on. Keep the primary line active, even if you use it for nothing else.
- Personal hotspot shares whichever line is set as the cellular data line. If the eSIM is your data line, your laptop or tablet uses the eSIM’s data.
- Wi-Fi Calling lets your main line make and receive calls over the internet in places with weak signal, and on some phones over the other line’s data. Availability depends on your carrier, so check its support page if you rely on it.
7. Battery Life and Signal
Keeping two lines registered on the network uses a little more battery than one, especially in areas where both lines are hunting for a weak signal. If you don’t need your second line for a while, such as between trips, switch it off in the SIM settings instead of deleting it. The eSIM profile stays stored on your phone and can be turned back on in seconds.
The signal bars in your status bar refer to the two lines separately. On iPhone, open Control Center to see both. Strong bars on your main line don’t mean your eSIM has the same coverage, and the other way round.
8. Troubleshooting: Check These First
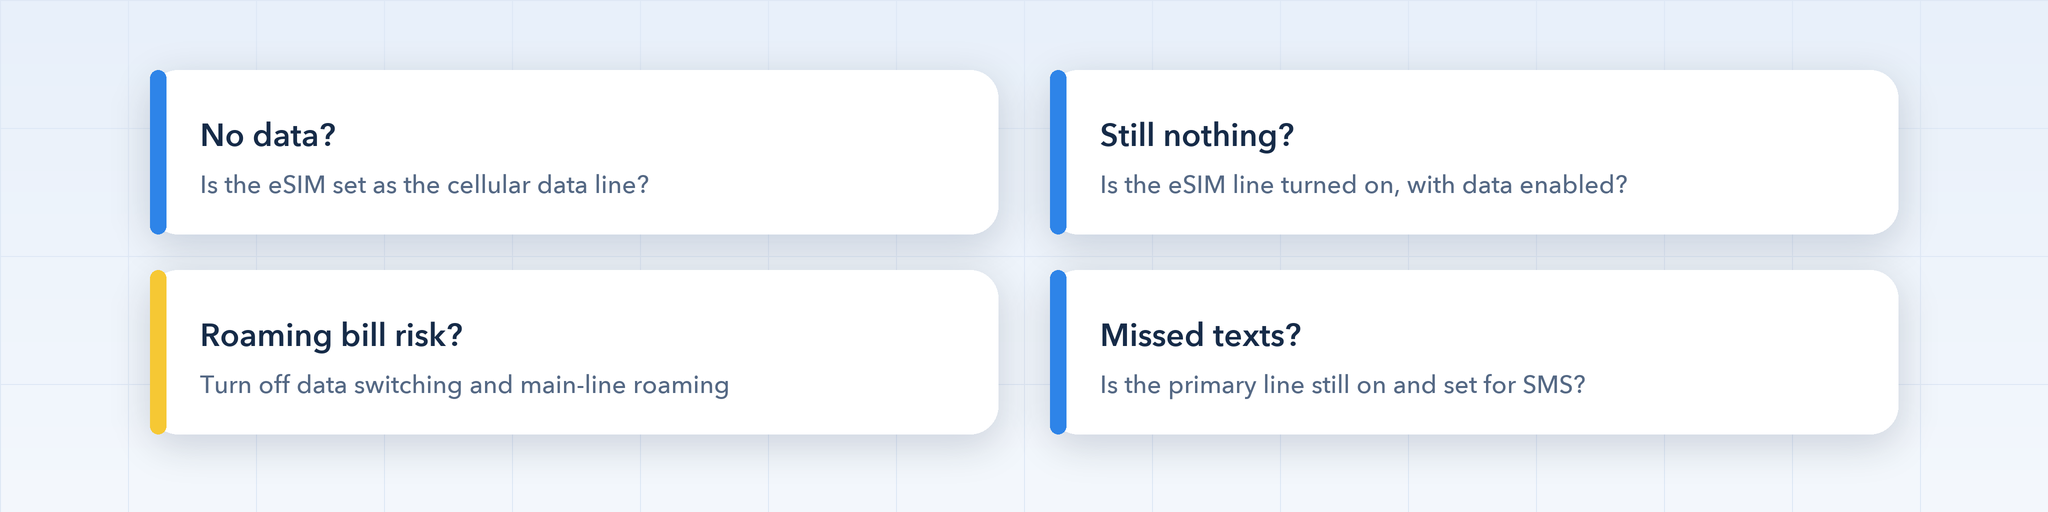
Most dual SIM problems come from a setting, not a fault. Work through these in order:
- No mobile data? Check that the eSIM is selected as the cellular data line. This is the single most common cause.
- Still no data? Make sure the eSIM line itself is turned on, that its plan has been activated, and that mobile data is enabled. Restarting the phone or toggling Airplane Mode on and off forces the phone to reconnect.
- Data appearing on your main carrier’s bill? Turn off automatic data switching, and turn off Data Roaming on your main line while you’re abroad.
- Missing texts or calls? Check that the primary line is still switched on and set as the default for calls and SMS.
- Data drops during phone calls? This is normal on DSDS phones. Allowing data switching can keep data running during calls, but it uses your main line’s data while you’re on the call.
If none of these help, our Common eSIM FAQs cover installation errors, APN settings and other connection issues in more detail.
Quick Dual SIM Checklist
Before you head out, confirm that:
- Both lines are switched on and clearly labeled.
- Your main number is the default line for calls and SMS.
- The data eSIM is the cellular data line.
- Automatic data switching is off if you’re traveling.
- Data Roaming is off on your main line when you’re abroad.
- iMessage, FaceTime and WhatsApp still show your main number.
Conclusion: Keep Your Number, Add the Data You Need
Dual SIM turns one phone into a flexible two-line setup. Your existing number keeps handling calls, texts and verification codes, while a data eSIM takes care of everything that uses mobile data. Once the voice line, data line and data switching are set correctly, you rarely need to think about it again.
A LemonSIM data eSIM is built for exactly this role. Install it next to your current SIM, set it as your cellular data line, and you’ll have reliable mobile data without changing your number or signing a contract.