
Your travel eSIM arrives as a QR code in your email, and the obvious next step is to scan it. But what if the email is open on the very phone you need to scan it with? You can’t point a phone’s camera at its own screen. The good news: you can install an eSIM without a QR code. The QR code is only one way to deliver the same set of details, and there are at least three other routes onto your phone.
This guide explains what the QR code actually contains, walks through each alternative on iPhone and Android, and covers what to do if the manual route throws an error. If you haven’t picked a plan yet, LemonSIM’s travel eSIM plans list every destination, and each order comes with the details you need for any of the methods below.
When You Need to Install an eSIM Without Scanning the QR Code
Most people hit this problem in one of these situations:
- You only have one device with you. The QR code is in your inbox on your phone, and there’s no laptop or tablet to display it on.
- You’re already at the airport. You meant to set things up at home and forgot, and your travel partner’s phone is packed away.
- The camera won’t read the code. A cracked lens, a dim screen, glare from a printed copy or a code shown too small can all make scanning fail.
- You’re setting up a device without a rear camera you can easily use, or you’re helping someone else install remotely and can only send them text.
In every one of these cases, the eSIM itself is fine. You just need a different way to hand the details to your phone.
What’s Inside an eSIM QR Code?
An eSIM QR code isn’t the plan itself. It’s a compact way of writing down two pieces of information:
- The SM-DP+ address, which is the address of the secure server that holds your eSIM profile.
- The activation code, a one-time key that tells that server which profile is yours.
When you scan the code, your phone reads those two values and downloads the profile. When you type them in yourself, the phone does exactly the same thing. That’s why a manual installation works just as well as scanning. For a fuller picture of the download and activation steps, see our plain-English explainer, What Is an eSIM and How Does It Work?
On LemonSIM, your eSIM details include an install link or QR code, as described on the How eSIM Works page. Keep that email somewhere you can find it again; you’ll need the details for whichever method you use.
Option 1: Tap the Install Link (Fastest on a Single Phone)
If your eSIM details include an install link, this is the easiest way to install an eSIM when you have only one phone: the same phone that received the email.
On iPhone: according to Apple’s guide to setting up eSIM on iPhone, on iOS 17.4 or later you can tap a carrier link to start the eSIM setup, then tap Allow when the “Activate New eSIM” notification appears and follow the prompts. The same Apple guide notes that on iOS 17.4 or later, if the QR code is in your default email app or browser, you can touch and hold the QR code and choose Add eSIM, with no camera involved.
On Android: whether an install link opens the eSIM setup depends on the phone maker and Android version. If tapping the link doesn’t open an eSIM screen, use Option 2 instead.
A few tips that save time:
- Open the link or QR code in your phone’s default mail app, not a third-party app that may not pass it to the system.
- Stay on stable Wi-Fi during the download.
- When asked, give the new line a clear label such as “Mexico data” so you don’t mix it up with your main number later.
Option 2: Enter the eSIM Details Manually
Manual entry works on almost every eSIM-capable phone, and it’s the reliable fallback when there’s no second screen around.
iPhone
- Connect to Wi-Fi.
- Open Settings and tap Cellular (or Mobile Data).
- Tap Add eSIM or Add Cellular Plan.
- Tap Enter Details Manually at the bottom of the screen (the menu path Apple lists in the guide linked above).
- Paste or type the SM-DP+ address and the activation code from your eSIM details, then follow the prompts.
Android (Samsung, Pixel and others)
Menu names vary by brand, but the path usually looks like this:
- Connect to Wi-Fi.
- Open Settings, then Connections (Samsung) or Network & internet (Pixel and many others).
- Go to SIM manager or SIMs, then Add eSIM or Download a SIM instead.
- When the camera opens to scan, look for an option such as Need help?, Enter it manually or Enter activation code.
- Enter the details exactly as provided.
Typing tips that prevent errors
- Copy and paste instead of typing whenever you can. Long activation codes are easy to mistype.
- Watch for look-alike characters such as 0 and O, or 1 and l, if you do have to type.
- Don’t add spaces at the start or end of a pasted value.
- Keep the case exactly as shown. Some codes are case-sensitive.
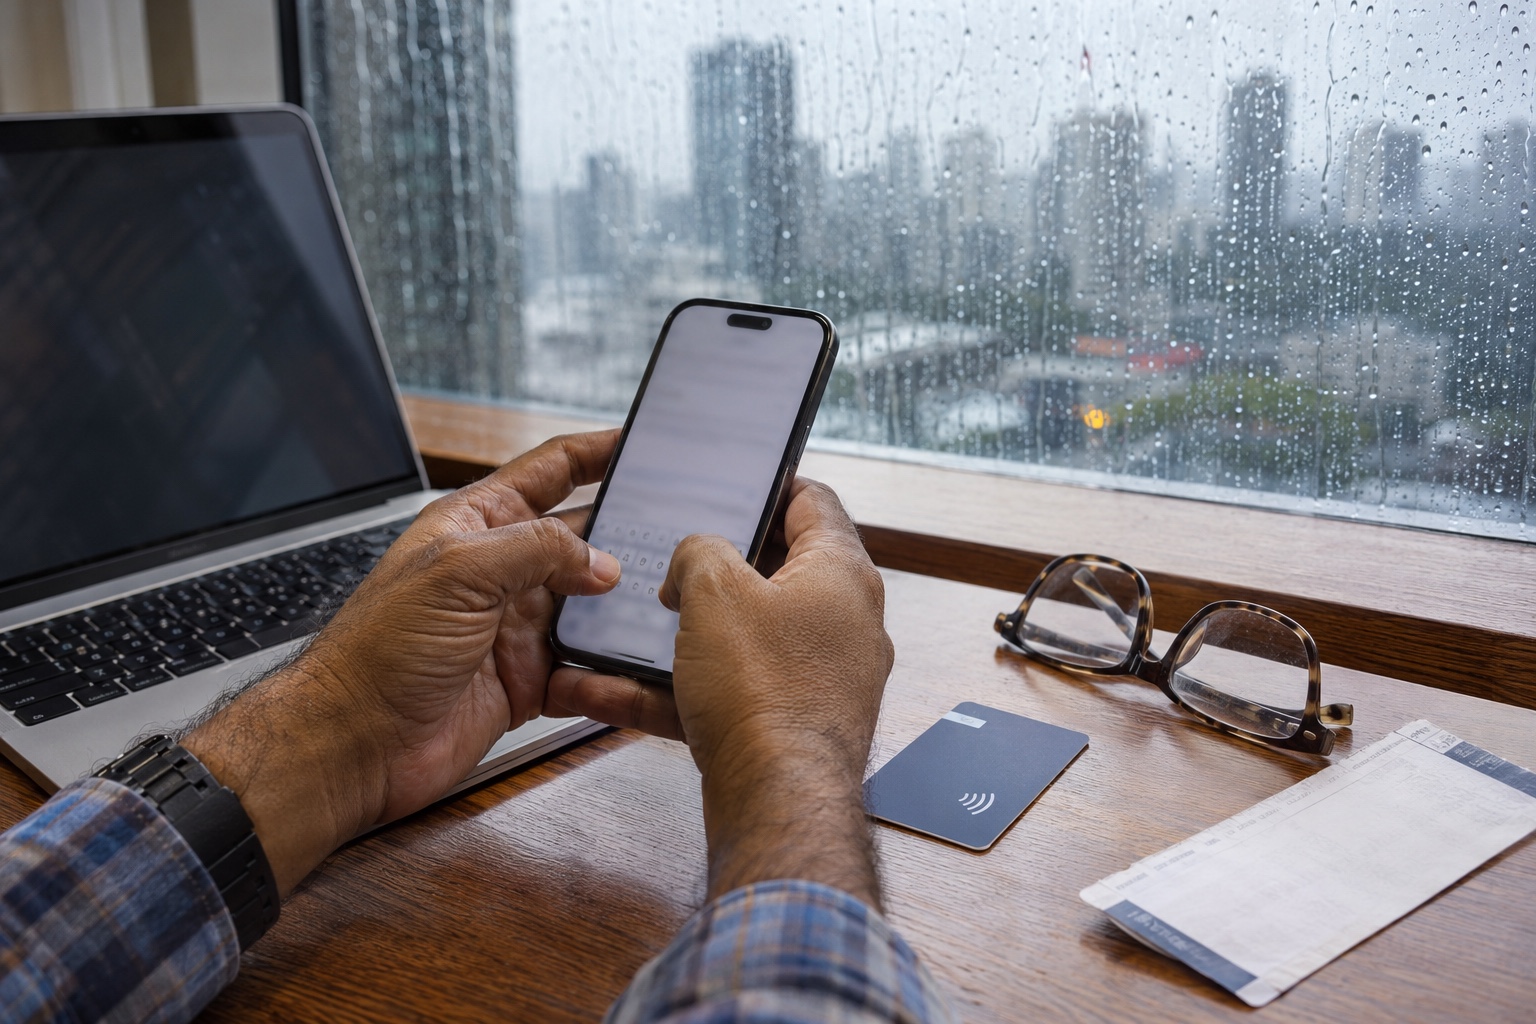
Option 3: Show the QR Code on a Second Screen
If you’d rather scan, all you need is another screen or a sheet of paper:
- A laptop or tablet. Open the email there and scan from your phone. This is the most common fix, and it’s why we suggest setting up your eSIM at home. If you travel with a tablet, it can display the code while your phone scans it.
- A travel companion’s phone. Forward the email to them, open it on their screen and scan it with yours.
- A printout. Print the QR code before you leave and keep it with your passport. It’s a handy backup if your laptop stays at home.
Make the code large and bright, hold the phone steady about 20–30 cm away, and avoid reflections. If scanning still fails after a couple of tries, switch to manual entry rather than repeating the scan over and over.
Install the eSIM Before You Fly: A One-Phone Checklist
If you know you’ll only travel with one phone, set things up the day before departure:
- Check your phone supports eSIM and is unlocked. Our pre-purchase checklist, What You Need to Know Before Using eSIM, walks through compatibility and carrier locks.
- Install over home Wi-Fi using the install link or manual details.
- Label the new line and keep your home SIM switched on for calls and texts if you want to stay reachable. Our guide to running your main number and a data eSIM side by side shows the exact settings.
- Leave the travel eSIM idle until you land. LemonSIM’s FAQ says installation can be done anytime, while activation can begin when you arrive.
- On arrival, switch mobile data to the travel eSIM and turn on Data Roaming for that line if your phone asks for it.

If Manual Installation Fails
An error during manual entry is usually one of a few things:
- “Unable to complete cellular plan change” or “Couldn’t add eSIM”. Check your Wi-Fi connection and try again in a few minutes.
- “Code is no longer valid” or “Already used”. Many eSIM activation codes can only be used once. If you’ve already installed the profile on this phone (even partly), look in your SIM or cellular settings before trying again.
- No “Add eSIM” option at all. The phone may not support eSIM, or it may be locked to a carrier.
Two rules matter more than anything else:
- Don’t delete an eSIM profile to “start fresh”. Once removed, it may not be reinstallable with the same code.
- Contact support before retrying more than once. LemonSIM’s FAQ says support is available 24/7 by email, live chat or the Contact Us page.
Which Plan to Install for a One-Phone Trip
When your phone is your only screen, it’s also your map, boarding pass, translator and photo backup, so it’s worth choosing a plan with some headroom. Two examples from current LemonSIM plans:
- A week in Mexico: the Mexico 5GB / 7-day eSIM is currently $12, enough for maps, messaging and moderate social media. If you’ll stream video or share a hotspot, the Mexico eSIM page also lists larger and unlimited plans.
- A week in Turkey: the Turkey 5GB / 7-day eSIM is currently $9. For longer stays, compare the 15- and 30-day options on the Turkey eSIM page.
Prices and options can change, so check the product page before you buy. Most LemonSIM plans support personal hotspot unless the product page says otherwise, which is useful if you ever need to bring a laptop online.
FAQ
Is installing an eSIM manually less secure than scanning the QR code?
No. Both methods send the same SM-DP+ address and activation code to your phone. Just don’t share your eSIM details with anyone you don’t want to install your plan.
Can I install the same eSIM on two phones?
No. An eSIM profile is installed on one device. If you need data on a second device, share a hotspot from your phone or buy a separate plan for it.
Does installing the eSIM start my plan?
Installing and activating are separate steps. LemonSIM’s FAQ recommends installing before your trip and activating shortly before or when you arrive. Check your plan details for exactly when your validity period begins.
Will I lose WhatsApp if I install a travel eSIM?
No. According to LemonSIM’s FAQ, using a LemonSIM eSIM doesn’t affect your existing WhatsApp account as long as you keep your original number.
Conclusion
A QR code is the most familiar way to set up a travel eSIM, but it’s far from the only one, and it’s easy to install an eSIM without a QR code once you know where to look. With an install link, a long-press on the code in your mail app, manual entry of the SM-DP+ address and activation code, or a second screen, you can get connected with just one phone, even at the airport. Set it up on Wi-Fi before you fly, keep your eSIM details handy, and don’t delete a profile when something goes wrong.
Ready to set up? Browse LemonSIM eSIM plans by destination, or, if your phone doesn’t support eSIM, choose a LemonSIM SIM card instead.