
Most eSIM guides are written with the iPhone in mind, and Samsung owners are left translating menu names. This guide covers the full Samsung Galaxy eSIM setup for a trip: how to check that your Galaxy can take an eSIM, where the Add eSIM button lives, which settings to switch on when you land, and how to choose a data plan. The menu names below come from recent One UI versions; older phones may label things slightly differently, but the path is nearly always the same.
If you’re new to travel eSIMs, you can browse LemonSIM’s travel eSIM plans first, or read how eSIM works for the basics. Then come back here for the Galaxy-specific steps.
Does Your Samsung Galaxy Support eSIM?
Many recent Galaxy S, Galaxy Z and some Galaxy A phones have eSIM, but support depends on the exact model and, just as important, where the phone was sold. Two quick checks take less than a minute:
- Dial
*#06#. If a 32-digit number labelled EID appears, the phone has eSIM hardware. - Open Settings › Connections › SIM manager. If you see an “Add eSIM” option, the phone can install an eSIM.
Region matters more on Samsung than on most brands. LemonSIM’s eSIM compatible phones list notes that most Galaxy models sold in China, Hong Kong, Taiwan or South Korea don’t support eSIM, and neither do the US versions of the S20, S21 and Note 20 Ultra. Samsung says the same thing in its own words: Samsung UK’s Galaxy eSIM page warns that eSIM may not be supported even if your device is listed, so check the feature on your phone in your location. That’s why the *#06# test on your own phone is more reliable than any model list.
Is your Galaxy carrier-unlocked?
eSIM hardware isn’t enough. A Galaxy bought on a contract or payment plan may be locked to the carrier that sold it and won’t accept another carrier’s eSIM. Phones bought outright from Samsung or a retailer are usually unlocked. Samsung doesn’t show a simple lock status screen the way iPhone does, so the safest step is to ask your carrier before you buy (our guide on how to check if your phone is unlocked covers the other checks). The LemonSIM FAQ on eSIM compatibility explains why this matters: there are no change-of-mind refunds for incompatible or locked devices, except where the law requires them.
Also avoid installing a travel eSIM on a rooted phone. System changes can stop an eSIM from installing or connecting.
When to Set Up the eSIM on Your Galaxy
You can buy your eSIM any time before the trip. Buying doesn’t start the plan; installing it does, and the day you install counts as day 1. So the best moment is shortly before you need data, on a stable Wi-Fi connection: the evening before you fly, at the airport before boarding, or on hotel Wi-Fi if you arrive without data.
Plan expiry is worth knowing too. LemonSIM eSIM plans end at noon EDT (11:00 a.m. EST) on their last plan day. If you install late at night before a 7-day trip, those seven days start that night, so count accordingly.
Samsung Galaxy eSIM Setup, Step by Step
LemonSIM emails you a QR code after payment. Open that email on a second screen (a laptop, tablet, or printed page), because you can’t scan a code shown on the same phone’s screen with its own camera.
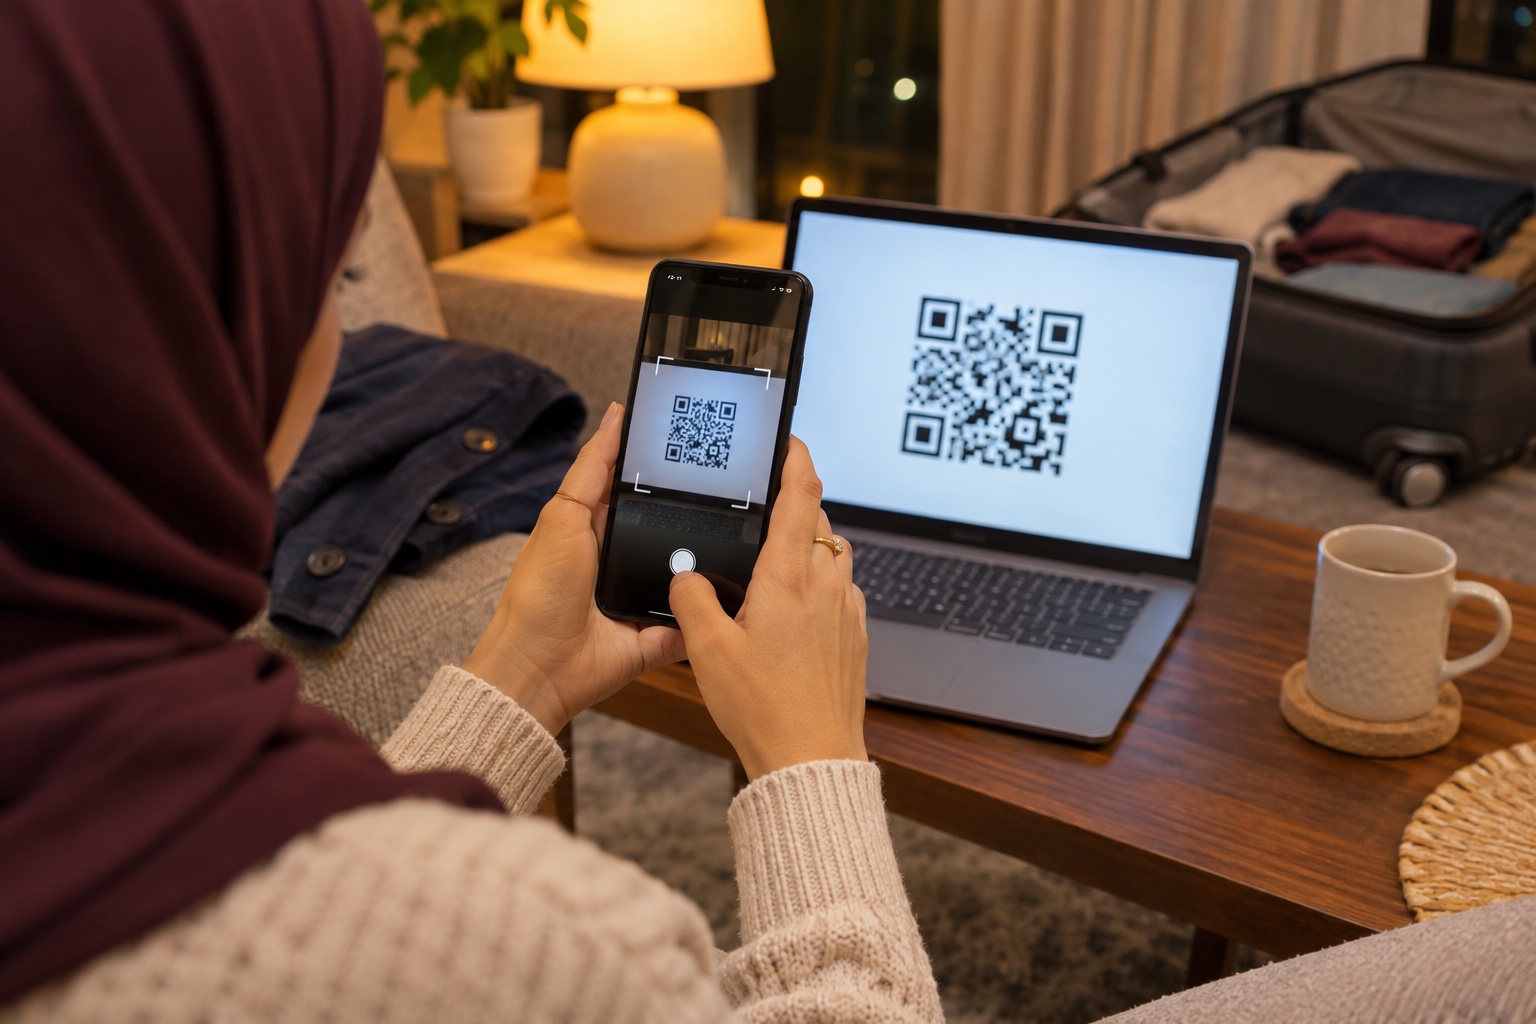
Here is the Samsung Galaxy eSIM setup itself:
- Connect the phone to Wi-Fi.
- Open Settings › Connections › SIM manager.
- Tap Add eSIM, then Scan QR code.
- Point the camera at the QR code from your LemonSIM email and confirm when the phone asks to add the plan.
- Give the new line a clear name, such as “LemonSIM Japan”, so you can tell it apart from your home SIM later.
- Restart the phone.
This matches Samsung’s own guide to adding an eSIM on a Galaxy, which lists the same Settings › Connections › SIM manager › Add eSIM › Scan QR code path and recommends a restart to apply the new eSIM profile.
If the camera won’t read the code, the same screen has an Enter activation code option, so you can type the details in instead. Our guide to installing an eSIM without scanning a QR code walks through that route. One warning: don’t scan the code again and again if something goes wrong. A code can usually be used only once, so first check whether the eSIM already appears in SIM manager.
What if it says “Activating” before you fly?
That’s normal at home. The eSIM connects to its partner networks at your destination, so it may sit on “Activating” or show no signal until you land. Leave it installed and don’t delete it.
Galaxy Settings to Switch On When You Land
This is where most Samsung users get stuck. A Galaxy with two lines needs to be told which one carries mobile data, and it may try to fall back to your home SIM. When you arrive:
- Turn the LemonSIM line on. Go to Settings › Connections › SIM manager and make sure the switch next to the travel eSIM is on.
- Choose it for mobile data. In SIM manager, under the primary SIM settings, set Mobile data to your LemonSIM line. Keep calls and texts on your home SIM if you want to stay reachable on your number.
- Turn on data roaming for the LemonSIM line. Go to Settings › Connections › Mobile networks, pick the LemonSIM line if the phone asks, and switch on Data roaming. A travel eSIM is a roaming line by design, so it won’t connect without this.
- Turn off Data switching. Samsung’s Data switching option lets the phone use your home line when the selected data line is weak. Abroad, that can mean roaming charges from your home carrier, so switch it off.
- Turn off data roaming on your home SIM to avoid charges from your home carrier. Calls, texts and voicemail on that line may still be billed at your carrier’s rates.

It usually connects within a few minutes. If it doesn’t, turn airplane mode on for 30 seconds and off again, then check the three basics: line on, chosen for data, data roaming on. The LemonSIM FAQ on starting data when you land has the same checklist for Pixel and iPhone if you’re travelling with someone on a different phone.
Running your home number and a travel line at the same time is covered in more detail in our dual SIM guide for keeping your main number.
Choosing a Data Plan for Your Galaxy
Galaxy phones are often set to back up photos, sync Samsung Cloud and Google Photos, and auto-update apps. On a limited plan, switch those to Wi-Fi only before you leave. Beyond that, the right plan depends on how you travel. LemonSIM’s FAQ suggests about 1 GB a day for maps, messages, social media and some short videos, and much more for streaming, long video calls or laptop work.
A few examples from the current range (prices are the live values today and can change):
- A one-week city trip with light use. The Japan 5GB / 7 days eSIM is currently $12.99. That’s enough for maps, transit apps and messaging if you lean on hotel Wi-Fi for heavier things.
- Two weeks covering a lot of ground. The Turkey 10GB / 15 days eSIM is currently $15, a good fit for a route like Istanbul to Cappadocia where you’ll navigate, book and post along the way.
- A heavy week with video calls or hotspot use. The Vietnam unlimited 7-day eSIM is currently $27, so you don’t have to ration data on long bus rides or when working from your phone.
Check each product page for the plan’s details before you buy. Remember that LemonSIM eSIMs can’t be topped up: if you need more data or days, you buy a new eSIM plan and add it the same way through SIM manager.
Sharing data from your Galaxy
Every LemonSIM plan allows hotspot, so you can share your Galaxy’s travel data with a laptop or tablet through Settings › Connections › Mobile Hotspot and Tethering. Hotspot use adds up quickly, so pick a bigger plan if you’ll tether often. Our guide to eSIM hotspot and tethering data explains how much a laptop typically uses. On a smaller plan, set photo backup and app updates to Wi-Fi only so the hotspot data goes further.
When a Physical SIM Card Is the Better Choice
If the *#06# test shows no EID, or you have a Galaxy model from a region sold without eSIM, a physical SIM card is the simpler answer. LemonSIM SIM cards work in unlocked 4G LTE devices with a free SIM slot, and they’re available for the USA, Europe and Japan. For a longer Japan stay, for example, a Japan SIM card is an option. Delivery usually takes 5–7 days, so order early.
To set one up in a Galaxy, insert the card, turn on data roaming for it and wait a few minutes. If there’s still no data, set the APN to “plus”. Unlike eSIMs, SIM cards can be topped up.
FAQ
Can I keep my Samsung number while using a travel eSIM?
Yes, on dual-SIM Galaxy phones. Keep your home SIM on for calls and texts and set the LemonSIM line for mobile data in SIM manager.
Should I delete the old travel eSIM after my trip?
Yes, once the plan has ended. In SIM manager, tap the LemonSIM eSIM and choose the option to remove it. Keep it installed while the plan is still running, since an eSIM QR code can usually be used only once.
My Galaxy shows “Add eSIM” but installation fails. What now?
Check that you’re on stable Wi-Fi, restart the phone and look in SIM manager to see whether the eSIM was already added. If it still fails, email LemonSIM support with your order number, phone model and the exact error message.
Does a Galaxy tablet work with an eSIM?
Only cellular models that support eSIM. Samsung notes that Wi-Fi-only tablets don’t support eSIM. Our guide to eSIM on an iPad or tablet covers what to check.
Conclusion
A Samsung Galaxy eSIM setup comes down to three moments: confirm your Galaxy supports eSIM and is unlocked before you buy, add the eSIM through SIM manager on Wi-Fi shortly before you need it, and on arrival turn the line on, choose it for data, turn on data roaming and turn off Data switching. Get those right and your Galaxy will be online within minutes of landing.
Ready to pick a plan? Browse LemonSIM eSIM plans by destination, or choose a LemonSIM physical SIM card if your phone doesn’t support eSIM.